Dental Photography is one of the most important aspects of Aesthetic Dentistry, but very often it doesn’t get the attention it deserves.
That’s why we wanted to make your life easier by building this list of 6 adjustments you can (AND SHOULD) make to your camera to dramatically improve your dental photography. You don’t really need to be an expert, or watch hours upon hours of videos on youtube to understand how a camera works. You just have to follow these tried and true steps outlined by one of our educators to get the perfect picture.
First things first:
Take your pictures on “RAW” format
Camera configurations (FIXED)
Aperture priority
“A” on Nikon cameras and “Av” on Canon cameras.
White balance
Set to “K”
– And configure white balance to 5500K or the closest your camera allows you to get to this setting.
ISO
200 is the safest, but if you are constantly getting dark images you can set the ISO up to 400. This will make your camera twice as sensitive to light.
Color gamut
Adobe 98 (Adobe RGB), this will allow the camera to detect more colors. It’s the closest we can get to human sight.
Depth of focus
The depth of focus, sometimes referred to as depth of field, is what controls whats in and out of focus in a picture.
To control this, we’re only gonna work with the aperture.
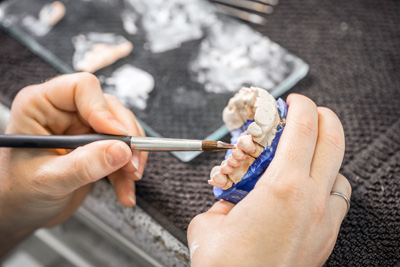
Macro Dental photography
For this type of photography you want to use f32 or the highest possible f stop you can get, some cameras go as high as f57.

Picture courtesy of Dr. Edward McLaren
As you can see in the picture above, when we set our camera to f11 we can only see the central incisors in focus, and this is not what we want in dental photography. It can look very artistic but thats not what we’re looking for.
On the right side we can see the picture taken with the f32 aperture. In this image, we can see every teeth in focus, just what we need for this type of photography.
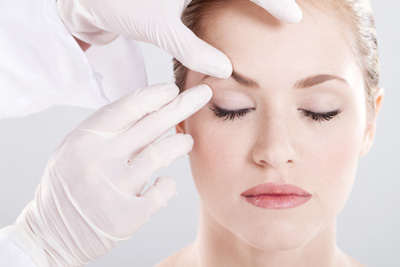
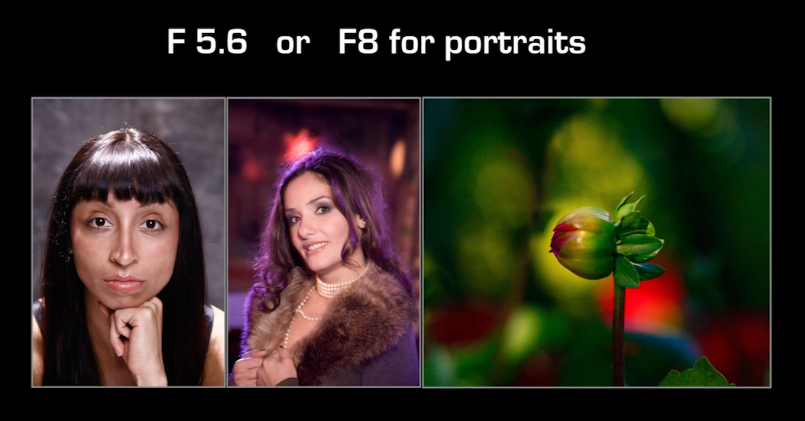
Portrait photography
For this type of photography we need an f8 aperture (f5.6 can work as well)
Picture courtesy of Dr. Edward McLaren
If you’re looking for a portrait in which every part of the person is in focus, then you should use an f8 aperture. But if what you’re looking for is more artistic the f5.6 aperture is what you want, this will make the background and even the hairs in the back out of focus, as you can see in the second photo.
The flower photography was taken with an aperture of f5.6. And as you can see, everything but the flower is out of focus, this gives the photography a very intresting effect.
Exposure
Another very important aspect of dental photography is the exposure. This controls how lit or dark the picture is. There are various ways to control this, but the easiest way is with the Ev configuration (+/- button)

Picture courtesy of Dr. Edward McLaren
You just need to adjust + or – depending on what exposure you need.

Picture courtesy of Dr. Edward McLaren
As you can see in the image above, when the picture looks like the one on the left we need to add more exposure (+) so that we get more light through the camera. And if the picture looks like the one on the right, then we need to lower (-) the exposure. We should be aiming to get a photography like the one in the middle.
Newer Cameras
If you happen to be lucky enough to own one of the Nikon D7000 or D7100, or a Canon 60D or 70D, then you can save custom profiles on your camera.
For macro photography
For Nikon D700 / D7100 configure the U1 (user 1)
For Canon 60D / 70D configure C (custom)
- Use aperture priority
- Use the highest F stop that your lens allows (F57 or F32 for non digital lenses)
- Use “Adobe RGB” color gamut
- Use ISO 200 (ISO 400 is also good)
- Use “K” configuration for color temperature and adjust it to 5500K
- Use “RAW” format to shoot photographs
The Canon cameras only allow for one custom profile. But for those that own one of the two Nikon cameras mentioned, you can configure a second custom profile
For portrait photography
- Use aperture priority
- Use the lowest F stop (F8 or F5.6)
- Use “Adobe RGB” color gamut
- Use ISO 200 (ISO 400 is also good)
- Use “K” configuration for color temperature and adjust it to 5500K
- Use “RAW” format to shoot photographs